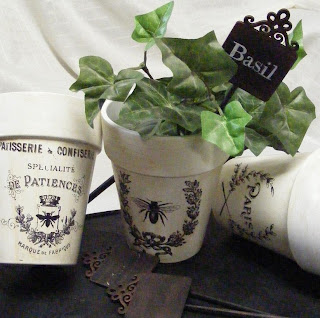
I am botanically challenged **Admitting you have a problem is the first step** but lets put that aside for a bit and get on with the project at hand.. These lovely Herb Pots and pokes.
You will Need:
1:From the Garden Center: You will require three Terra Cotta Rose Pots, I used the medium sized variety... Don't ask me what size they are... Oh wait!... the size is on the tag that was stuck to the bottom... they are 6 inch pots and 4 inch saucers.
Three Herbs.... of your choice.. I Have not selected my victims, I mean plants as yet.
2: From "www.decoart.com":
Deco Art All purpose Primer sealer,Warm White Paint,DecoArt Decoupage Medium (Matt), Asphaltum paint, Duraclear Satin or Matt Varnish ( as per your preference)Deco Art Chalk Board paint.
3: From "www.graphicsfairy.blogspot.ca"
Three vintage graphics, Reversed (Only if Text or numerals are involved)
4: From "www.Stockade.ca" you will need:
3x 2inch square scroll tags
5:Dynasty Faux Squirrel Brushes:
3/4 flat, #2 Round, #2 Rigger
6: Misc:
Shop Towel, Water, White Graphite paper, Printed lettering ( Thyme, Basil, Parsley etc), L'Acrobate Glaze.( www.tracymoreau.com)
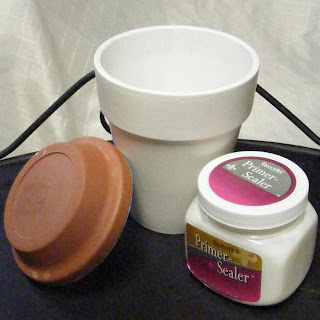
To Start: Mix Warm White paint 1:1 with some All Purpose Primer sealer. Mix well. Begin by applying a generous coat to the INSIDE of each pot. If you want the paint on the outside to remain in good shape over time, you have to seal the ENTIRE Pot inside and out, to prevent moisture from getting behind the paint. Set them aside to dry. Terra Cotta is VERY porous, so it will dry pretty quick. Then apply a coat to the outside of each pot. The sealer makes the paint a bit transparent, so three coats will likely be required to get good coverage.We are looking for a nice opaque coat. Let dry thoroughly ( I put mine under the fans for about 1/2 an hour.. that seemed to do the trick.)

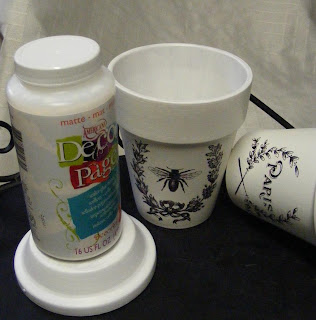
Once the pots were dry I Cut out the reversed Image as close to the edge of the image as i could get and adhered ( Face Down) them to each pot with a generous coat of Decoupage Medium. I did NOT apply any OVER the the image, I just used it to stick the paper to the pot!I put them back under the fans for a bit to dry the decoupage medium well before the next step.
I then used a terry cloth face cloth to gently scrub the paper off the pots, leaving the Transferred image on the pot.

Once all the Paper has been scrubbed off, let the pots dry for a few minutes before applying a coat of the decoupage medium over the entire pot, just to seal the image on.Let it dry Thoroughly.

Use a Little Asphaltum Paint thinned with L'Acrobate to apply a weak layer of antiquing over the White paint. Let them dry thoroughly.
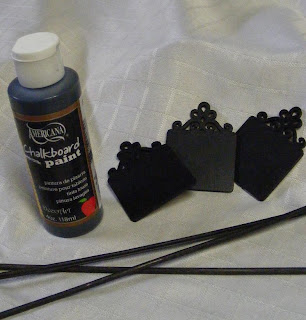
 I Used some Deco Art Chalk Board Paint to base the Small tags and the Skewers,I traced the lettering onto the tags and then used the #2 Rigger to paint the lettering with Warm White then I glued the skewer to the back of the tag with a glue gun! You Can just leave them Blank and use chalk to write in whatever you like!!
I grabbed a handful of foliage out of the Silk Arrangement(and Yes I know it's NOT Basil) on my China Cabinet to add a little colour ( I Told you I haven't selected my victims yet) and stuck in the Plant poke... And Voila!! Perfectly Pretty Herb Pots and Pokes!!

If you want to see a step by step demo of this image transfer technique.. here it is: